Creating YouTube material is a wonderful way to share your ideas and promote your brand, but video editing is essential for making your content stand out. The quality of your editing can elevate a good video to a terrific one, increasing your audience’s engagement.
If you’re just getting started with YouTube video editing, this article will teach you the important methods for improving your editing process. We’ll walk you through crucial tactics for making your films look professional, even if you’re a newbie.
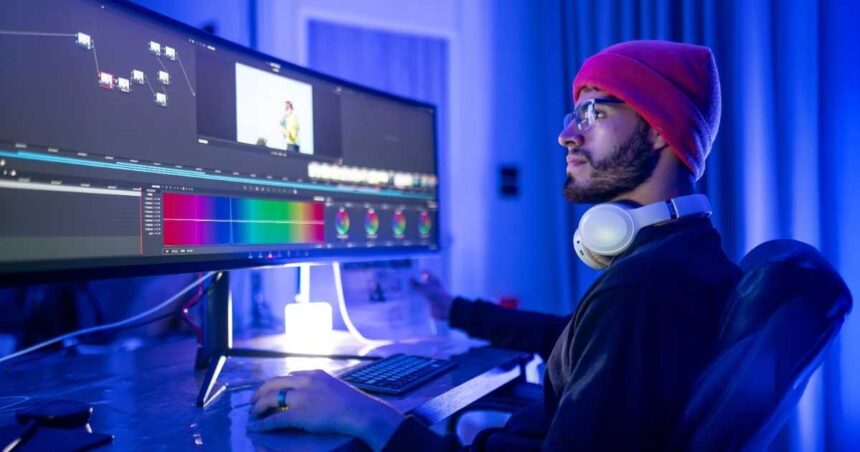
1. Select the Right YouTube Video Editor
The first step is to select the appropriate video editor. Beginners should start with an easy-to-use youtube video editor that allows them to generate polished material without overwhelming them with complex capabilities. If you’re editing on your phone, consider using video creator software that includes templates and simple drag-and-drop editing for speedy video production on the go.
2. Begin with Good-quality Footage
Good video editing begins with quality footage. Ensure that your videos are shot in high resolution (at least 1080p), with good lighting and audio. Even if you’re using a smartphone, aim to photograph in well-lit areas and with a tripod or steady hands to avoid choppy footage. This will make your editing process a lot easier and make your video appear more professional.
3. Organize your Footage
Before you start editing, organise your footage. Make folders for various forms of material (video clips, sound effects, music, etc.). Label each clip with its content so you can quickly discover what you need. An organised workplace will save you time and prevent confusion during the editing process.
4. Trim and Cut Unnecessary Parts
One of the most crucial phases in editing is to remove everything unnecessary. Cut out any extended pauses, blunders, or repetitious passages that do not add value to the film. Keep your information concise and intriguing so that people do not lose interest. Use the trimming tool in your YouTube video editor to tidy up your clips and make sure they flow smoothly.
5. Enhance your Audio
Great audio is equally vital as great video. Adjust the volume of each clip to ensure that your audio is clear and balanced. If there is any background noise or interruptions, consider adding background music or employing a noise reduction tool, which are accessible in many editors. Ensure that the music does not overshadow the voiceovers or conversation.
You can also use sound effects or voiceovers to highlight significant moments in your video, making the information more interesting.
6. Use Transitions Wisely
Transitions assist your movie flow from one scene to the next, but they should not be used excessively. To keep the video fluid, use simple transitions such as fades and dissolves. Too many showy transitions can detract from your content. Only utilise transitions when necessary to connect different scenes or sections.
7. Add Text and Graphics
Text and visuals are vital for emphasising key points, providing context, and generating branding for your film. You can use text to introduce sections or highlight key information. Keep the font simple and readable, and make sure it doesn’t clutter the screen.
To improve the quality of your movie, consider adding visuals such as lower thirds (name tags), logos, or even animated text. Many YouTube video editors include built-in templates for these features, saving you time while still retaining a professional appearance.
8. Color-correct and Grade your Footage
Colour correction is essential for making your footage visually appealing. Adjust the brightness, contrast, and saturation to make the video appear balanced. If you want to achieve a specific appearance or mood, you can use colour grading, which modifies the overall tone of your video. Many editors include built-in colour correcting tools that allow you to make your footage appear more cinematic or vivid.
9. Add Background Music
Music is a strong tool for establishing the tone of your video. Choose background music that complements the theme of your video and does not detract from the material. You may find royalty-free music on YouTube and other music platforms.
Make sure the music volume is proportional to the dialogue or voiceover. Many video maker app include an integrated music library, which makes it easier to add tracks to your video.
10. Export and Upload your Videos
Once you’ve finished editing your video, it’s time to export it. Most video editors let you select the resolution and file type for exporting. For YouTube, 1080p HD resolution is preferred, however, you can export in 4K if your video quality allows it.
Before you post your video, make sure everything appears good. Once you’re finished, upload it to YouTube, give it an eye-catching title, description, and tags, and hit the publish button!
READ MORE ON ENTERVYN: How to Use a TikTok Video Creator to Boost Your Social Media Presence
You Have Your Reader’s Attention – Don’t Waste It
Conclusion
Editing YouTube videos may appear difficult at first, but with the correct tools and techniques, you can quickly improve your editing abilities and create interesting, high-quality films. Begin by selecting the appropriate YouTube video editor, organizing your footage, and following the editing guidelines indicated above. With experience, you’ll be able to create professional-looking material that captivates and retains visitors.
Remember that consistency is the key to success on YouTube, so keep creating and improving your editing technique. With time and determination, you’ll discover your own style and master new editing techniques to help your videos stand out even more.


When Semeonov It caught up and our little
You are absolutely right. In it something is and it is good thought. It is ready to support you.